It’s a Hassle When Appliances Break Down
It’s inconvenient and disruptive to your daily routine when appliances break down. You expected to wash and dry your clothes, keep your groceries cold, or cook a meal just like you normally do, and suddenly, you can’t. You have to call someone to come to your home to make an appliance repair, wait for that person to arrive, and then pay what may well prove to be a hefty bill at the end of it all.
Many people believe that, since they’re not appliance repair experts, there’s nothing they can do to prevent appliances from failing short of calling out the professionals to perform checks and maintenance that would be expensive in and of themselves. But that’s not actually the case. There are simple do-it-yourself measures that any homeowner can perform to keep appliances working as they should.
10 Do-It-Yourself Tips That Will Keep Your Appliances Running
Do-It-Yourself Tips for the Stove
- Make sure downdraft vent filters and the range hood stay clean (or replace them if necessary.) To begin this do-it-yourself maintenance, you can put metal-mesh grease filters through the dishwasher or clean them by hand with soapy water. Paper and charcoal filters, however, can’t be washed and should be replaced instead.
- Keep stovetop drip bowls clean. After taking these out from under the burner elements, you’ll want to soak them in a cleaning solution for five minutes. Next, you should hand wash them and then put them back under the burners. Remember that in the event of spills, you should clean the bowls immediately and may find it necessary to replace them.
- Make sure the oven door has a good, tight seal. Without one, the oven can lose more than 20% of its heat. If that happens, food will take longer to cook and can cook unevenly. The seal is the rubber or fiberglass gasket that runs around the oven door. You can check it by feeling for deformed, ripped, or broken areas and by closing the door and looking for leaks. If you find problems, the seal should be replaced.
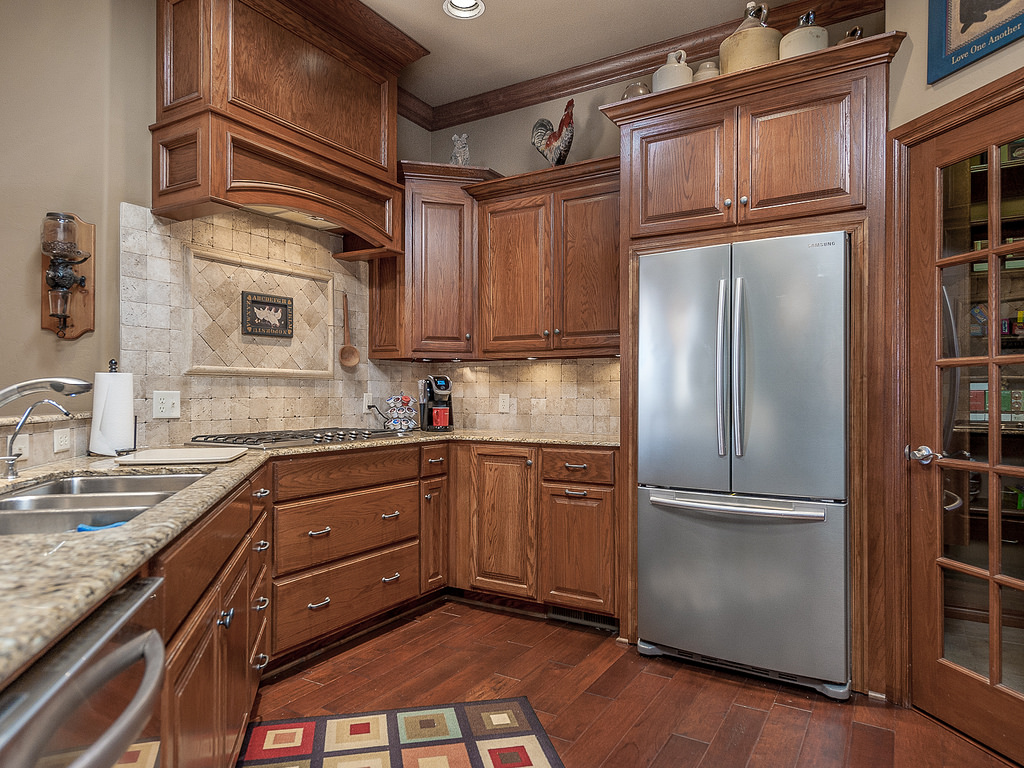
Do-It-Yourself Tips for the Refrigerator
- Change the water filter when it gets old. When water filters get old (every three to six months, depending on how much water has gone through them), they no longer do a good job of removing impurities and contaminants from the water you and your family are drinking. To begin this do-it-yourself task, you’ll want to check on the instructions for replacing the water filter in your particular refrigerator since models can vary somewhat. Generally, though, the process is no more involved than turning the water filter slightly and then removing it or locking it in place.
- Keep the coils in the refrigerator clean. If they aren’t clean, the refrigerator works harder to keep food cold, and foreign matter like dust, dirt, and pet hair can find its way into the works. Used once or twice a year, a handheld vacuum gets rid of this material. On most refrigerator models, the coils can be found either at the rear of the unit or behind the kick plate, the front panel just above the floor.
Do-It-Yourself Tips for Other Appliances
- Keep air-conditioner filters clean. Dirty or clogged filters make an air conditioner less efficient and use more energy by restricting airflow. They make the air conditioner break down sooner and run up your electricity bill along the way. So it’s a good idea to clean them every two to four weeks provided they’re reusable. You can do this by vacuuming. If they’re disposable, put in new ones.
- Keep your garbage disposal clean (and do away with unpleasant smells.) To perform this do-it-yourself task, after switching the disposal off, look inside for large, stuck items. Use a tool like tongs to extract them; never stick your hand down a garbage disposal. Next, put vinegar or a mixture of salt and ice cubes down the disposal. After running cold water for ten seconds, turn on the unit. To get rid of unpleasant smells, put citrus peels down the disposal, run cold water, and switch the disposal on.
- Repair rusty dish rack tines in your dishwasher. Otherwise the rust can stick to silverware and dishes and ruin them. You can prevent this by buying a tine repair kit and applying sealant to cover rusty or chipped tines with new ones. To make sure the replacements adhere securely, wait 24 hours before running the dishwasher again.
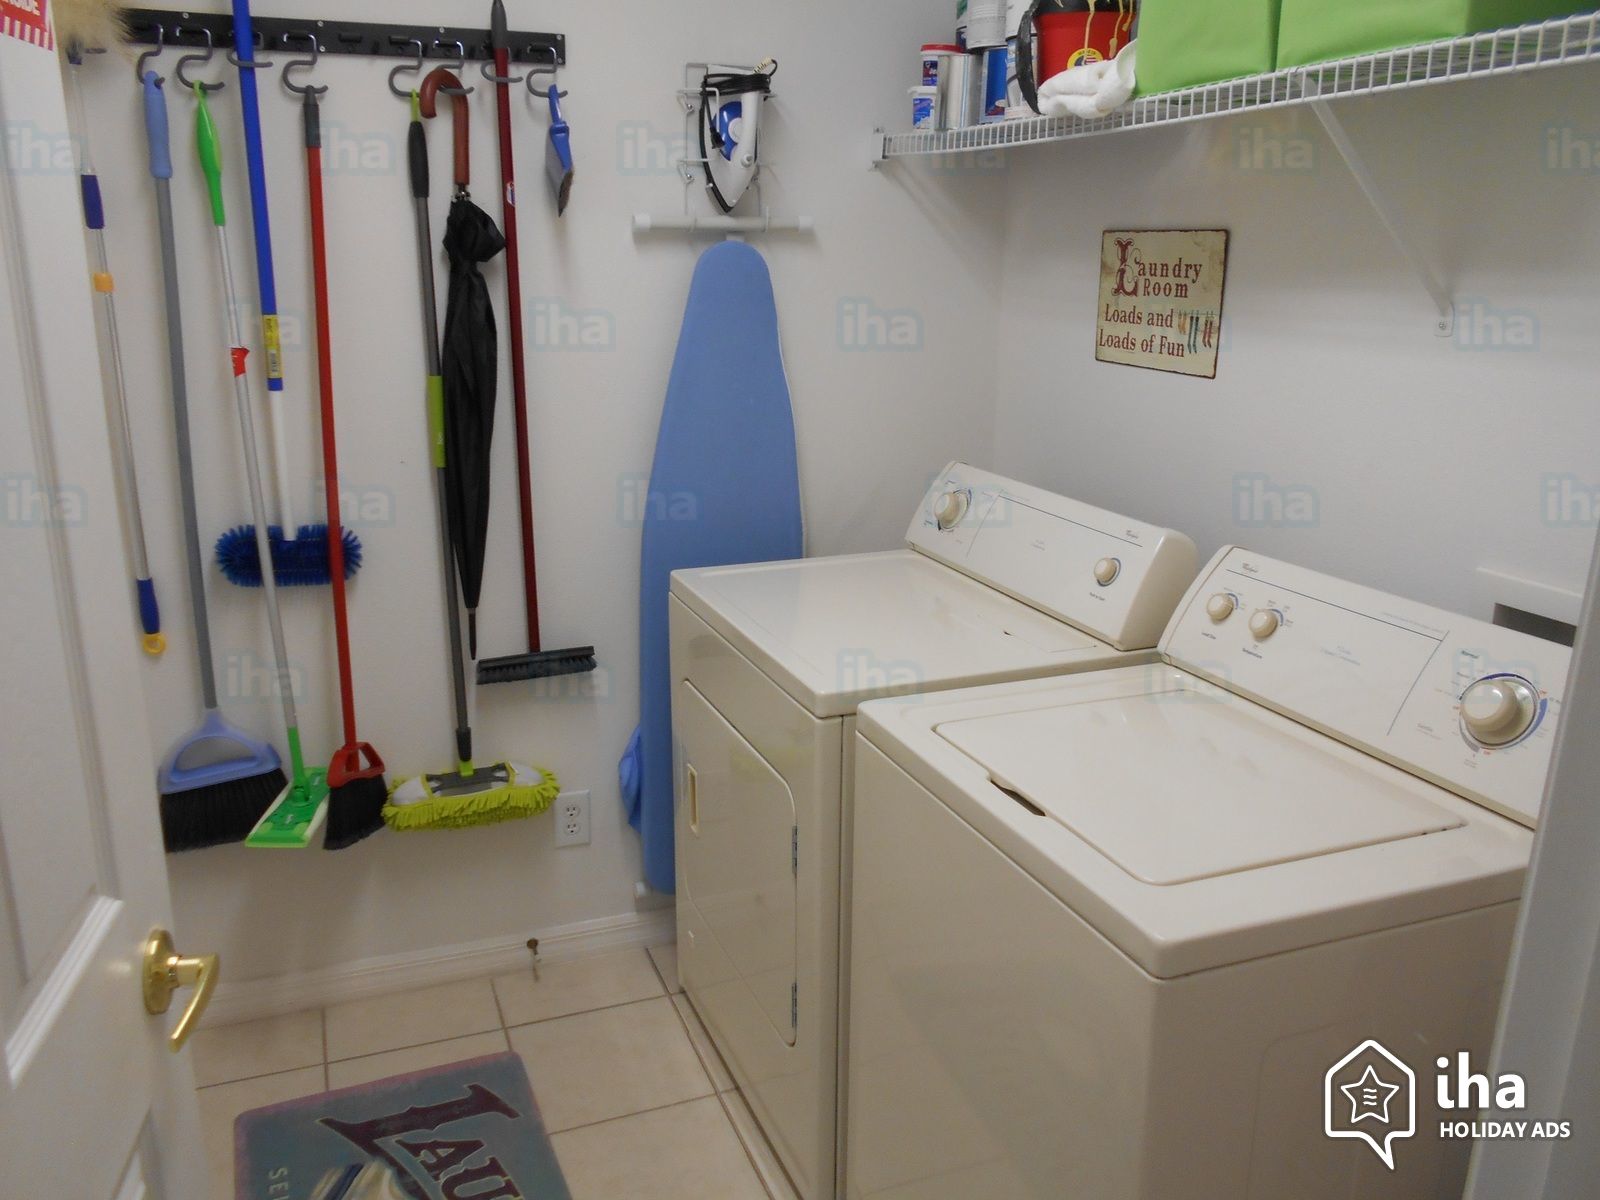
- Check washing machine hoses. Generally speaking, when a washing machine floods, a damaged hose is the culprit. Examine the hoses that connect to the back of the washing machine for leaks, cracks, and wet spots. If the hoses are damaged, replace them, and replace them every five years even if they still look okay.
- Last but not least, clean the dryer exhaust. This is a particularly important do-it-yourself maintenance tip since a dirty exhaust doesn’t just make the dryer less efficient. It actually poses a fire hazard. You can clean the dryer exhaust by loosening the clamp and pulling the exhaust away from the rear of the appliance. Then remove masses of lint from the hole and the tubing. You’ll probably be able to use your hand for some of this but may need a straightened coat hanger to extract masses you otherwise couldn’t reach. The final steps are to vacuum and then to clamp the dryer exhaust back onto the appliance.
Remember to perform these simple do-it-yourself chores and repair calls should be few and far between.